This post is a work in progress. The project isn’t finished as I’m waiting for 3 more POE+ hats. There are pictures missing too…
Some History:
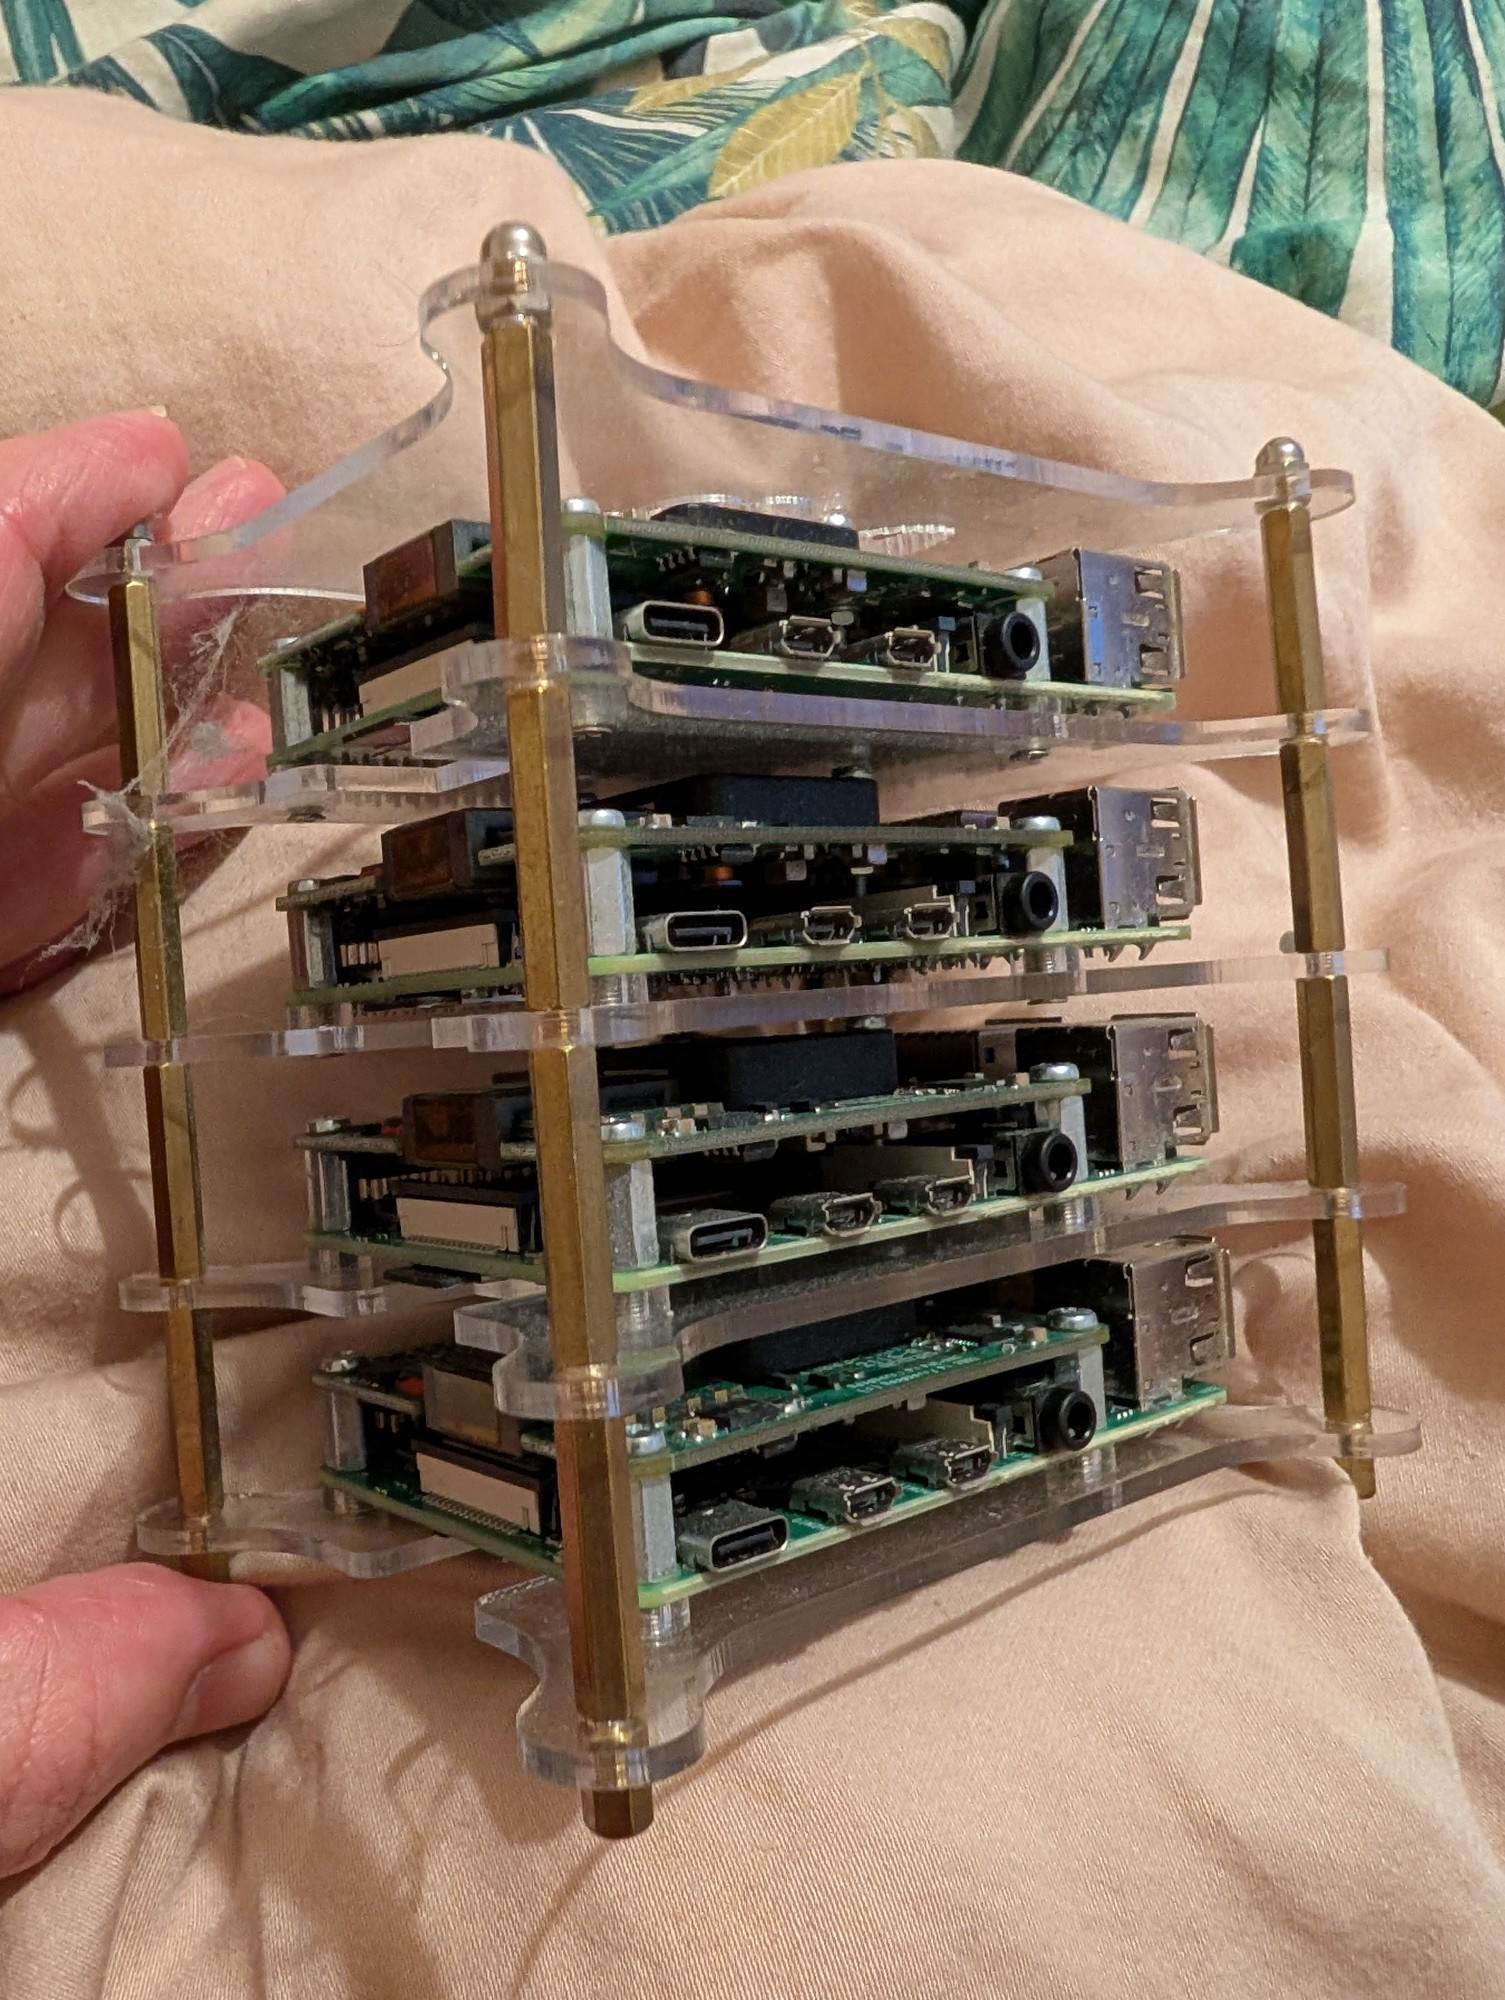
Several years back now, during covid lockdowns, I decided to build a Kubernetes cluster with 4 Raspberry Pi 4 single board computers. Mostly for fun, but also to have a home lab, and to also to better understand Power over Ethernet(POE). Because, whist I love Raspberry Pis, I HATE having to connect find so many power points to plug in the adaptors and all the eleventy seven associated cables running everywhere.
So, along with the POE switch, I needed a POE hat for each one, of course a POE router, and I used a single 1 Terabyte NVMe drive connected via the USB port and shared to the other nodes with NFS.
It looks like this:

Fast Forward to Now
So, now I want to do the same with the MUCH faster Raspberry Pi 5. It’s been out for a while but compatible POE+ hats are only just coming on the market. And most of them include built in NVMe slots which gives us MUCH faster and reliable storage than the micro-SD card.
Tools Used
- An iFixit Manta Precision Bit Set, Bit-Kit with 112 bits - This little kit isn’t strictly needed but I think everyone should own one.
- An M.2 NVMe Adaptor to USB C 3.2X2 - Impossible to build anything without one of these.
- A very tiny 5mm wrench is super helpful.
Cluster Part Lists
(prices correct at the time)
-
4 x Raspberry Pi 5 - 8GB - £79 each.
-
4 x HatDrive! POE+ for Raspberry Pi 5 - €44,00 EUR each.
-
4 x M.2 512GB SSD PCIe Gen3.0 x4 2280 with Graphene Cooling Sticker - about £25 each but were on sale.
-
1 x 4.3inch DSI LCD, Capacitive Touch IPS Display, 800×480 Resolution, MIPI DSI Interface - around £33.
-
1 x GeeekPi 4 Layers Acrylic Case with Armor Lite V5 Active Cooler Heatsink - around £25.
-
2 x Geekworm Raspberry Pi Installation Tool 100 Pcs - about £8 each.
-
1 x TP-Link PoE Switch 8 Port Gigabit Ethernet Switch with 8 x PoE+ Port @ 62W - around £38.
Important Notes
- The posts that came with the acrylic case weren’t long enough to work with the POE+ Hat. That’s why I got 2 of the Geekwork 100pc kits.
- The POE+ hat will give you the 5 Amps that the Raspberry Pi 5 requires. If the OS says otherwise, then the OS is wrong. Looking at you Ubuntu…
Preparation
- install the Raspberry Pi Imager on your computer.
- One by one, put each NVMe chip into the USB adapter, plug it in, and install Raspberry Pi OS Lite onto it. Unless you want a desktop to play with, in which case use the non Lite version. Ubuntu works too but makes mistakes about power.
- pro tip, make your life easier and use a permanent marker to put a 1 - 4 on each that way your pi’s are identifyable.
Next, unbox and prep the Raspberry Pis:
-
Attach a heat transfer pad to each of the chips as per the intstructions.
-
Plug the V5 active cooler into the appropriate port and gently put it in place without disturbing the pads.
-
Use the plastic screws to attach the V5 active cooler. Don’t overtighten the screws but get it snug.
-
Before going further, plug the Rasbberry Pi into a power source via USB-C. Make sure it comes on and the fan spins. If the fan doesn’t spin, check its connection.
-
connect small posts to a clear layer, using screws from beneath.
-
place raspberry pis with cooler onto the posts.
-
lock on with the posts from the POE hat.
-
on the poe hat, install your already formatted nvme drive, and screw it down.
-
install pin extenders.
-
connect pcie cable.
-
very very carefully align the poe hat and evenly press it down onto the raspberry pi.
-
use a screw going down through the poe into the the posts.
-
ensure everything’s
After first boot: rpi-eeprom-config –edit added: PSU_MAX_CURRENT=5000
After first boot, ssh to the ip address displayed on the screen. In my case, ssh -i ~/.ssh/pi pi@192.168.0.18
Run sudo raspi-config
-> Performance Options -> Current Limit -> Select “yes” to disable the USB current limit.
-> Advanced Options -> PCIe Speed -> Select “Yes” to enable PCIe Gen 3.
Alternatively, you could just add these 2 lines to the bottom of /boot/firmware/config.txt
Reboot.
before: /dev/nvme0n1p2: Timing cached reads: 6184 MB in 2.00 seconds = 3093.89 MB/sec Timing buffered disk reads: 1364 MB in 3.00 seconds = 454.15 MB/sec
after: /dev/nvme0n1p2: Timing cached reads: 6006 MB in 2.00 seconds = 3004.61 MB/sec Timing buffered disk reads: 2652 MB in 3.00 seconds = 883.48 MB/sec
